2001-2002 Chrysler Sebring and Stratus ECM Immobilizer Bypass
We have been asked many times about turning off the immobilizer on the 2001-2002 Chrysler Sebring and Stratus 2.4L cars with any of the following ECMs:
| 04896033AA | 04896033AB | 04896033AC | 04896033AD |
| 04896033AE | 04896033AF | 04896033AG | 04896033AH |
| 04896033AJ | P04896033AA | P04896033AB | P04896033AC |
| P04896033AD | P04896033AE | P04896033AF | P04896033AG |
| P04896033AH | P04896033AJ |
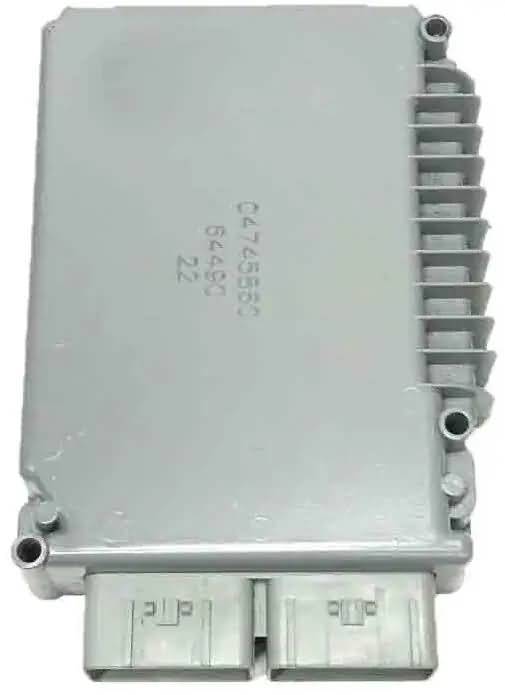
If you are going to replace the ECM with a used or recycled ECM, it is easier to just get it programmed with your VIN, but for those who somehow are “tired” of the immobilizer failing and want to venture into doing this by yourself, of course, without the necessary scanner to program it and enter the VIN, here are some instructions.
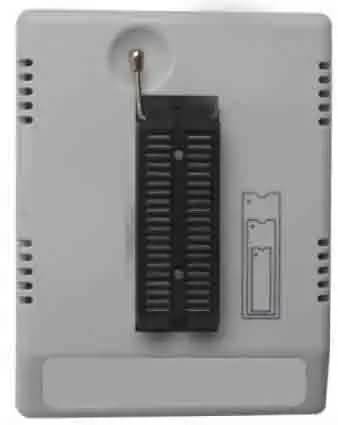
Know that you will need an (1) EEPROM programmer for doing it (a cheap one can do it), also a (2) heat gun for desoldering the chip, (3) desoldering copper braid for cleaning the solder out of the circuit board, and a (4) SOIC-8 adapter to connect the SMD chip to the programmer. Needless to say, this is a technical job, but the equipment needed for this method costs less than buying the special equipment and online services to program the ECM through the diagnostic port. However, it is more expensive than taking it to a professional. As for the chip, the number printed on it doesn’t matter; you can read and write it as a 95040-type EEPROM.
The ECM internals are normally submerged in red silicon goo for moisture and/or water protection. You will need to “dive” into it and cut the silicon to reach the EEPROM chip, unsolder it, program it using the instructions here, and then solder it back into the circuit.
Not discouraged yet??? Ok, go on then.
First, open the ECM, locate the EEPROM chip, and CAREFULLY start cutting the silicon to uncover it. It is labeled “Z12” on the circuit.
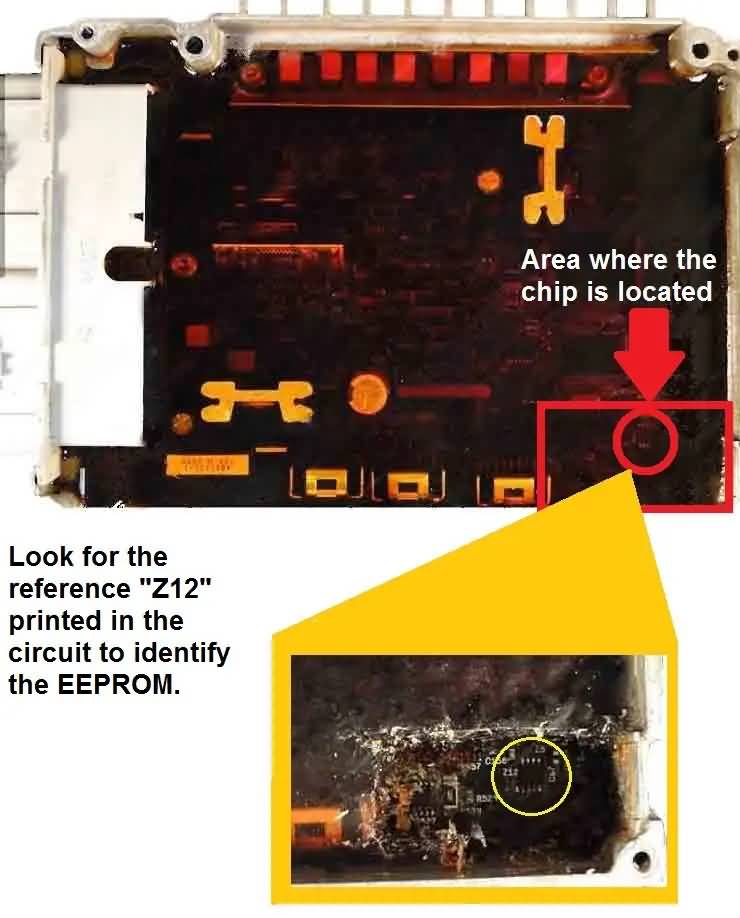
Remove all the silicon around the chip without harming the chip or the surrounding circuit. Before removing the chip, note which way pin #1 must face when you reinstall it. If you install it backward, the engine won’t start.
Now, with a heat gun set to around 380 degrees F, carefully remove the chip and clean the solder pads with desoldering braid, such as Chemtronics (the best).

Make sure the chip leads are free of silicon and clean to avoid read/write errors. Now put the chip in a SOIC adapter and connect it to your programmer. The adapter could be a SOIC-8 clip, a SOIC-8 socket, or any other method you can find to connect it to the programmer.
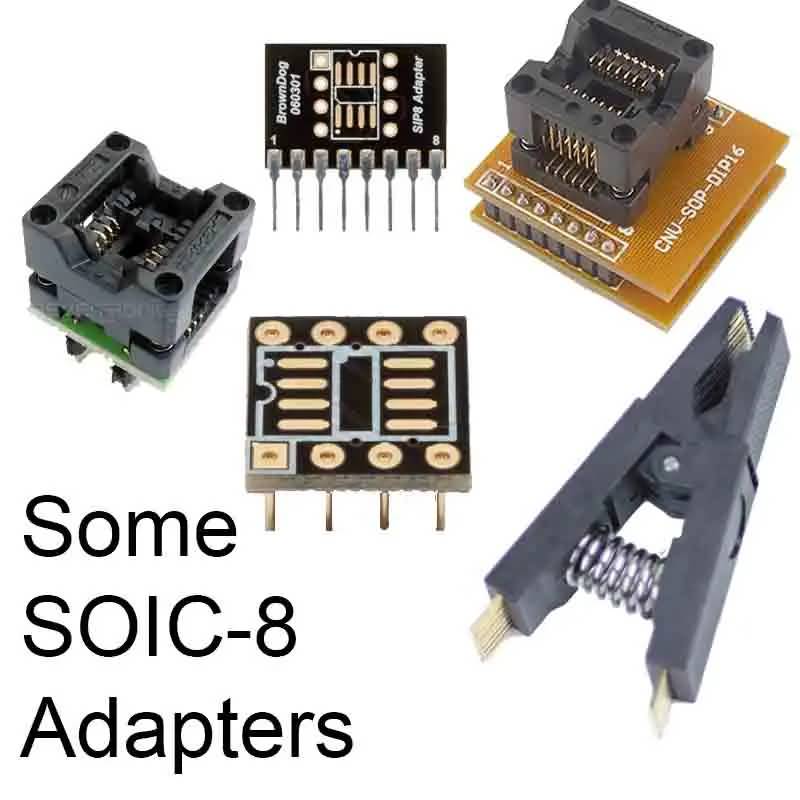
These EEPROMs are cheap (could be as low as $1 each), so as an alternative, you may order a blank 95040 chip from eBay or any other marketplace and program it with your car’s VIN as instructed here so you just swap chips as soon as you take the old chip out and clean the circuit, skipping the part of cleaning and removing all the silicon and other materials from the old chip.
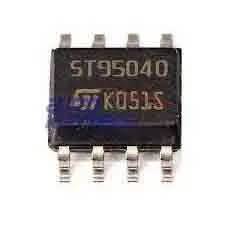
To read/write the chip, choose the 95xxx EEPROM family in your programmer and select the 95040 chip, which is a 512-byte chip. It can help to choose the chip brand (e.g., ST, Texas Instruments, etc.), but generally any available brand will do, since most of these chips use the same programming algorithm. At the moment of writing, just write the file and re-read it twice to see if the same checksum prevails. If not, there is a problem writing it, and you should choose the exact brand or another algorithm. You can read and write these chips thousands of times. WARNING – Before doing anything with the chip, read the next paragraph below.
Before writing anything to the chip, read it and save a backup of the file in case you need it later. Believe me, many people have regretted not having a copy of the original file when they needed it later for whatever reason. Save it with the “.bin” extension (binary) and after you back up the file, erase the whole memory of the chip (fill it with FF’s) and finally, enter the VIN of your car, starting in the hex location 0062h ($0062) of the chip, throughout location 0072h ($0072), covering the 17 characters of the VIN.
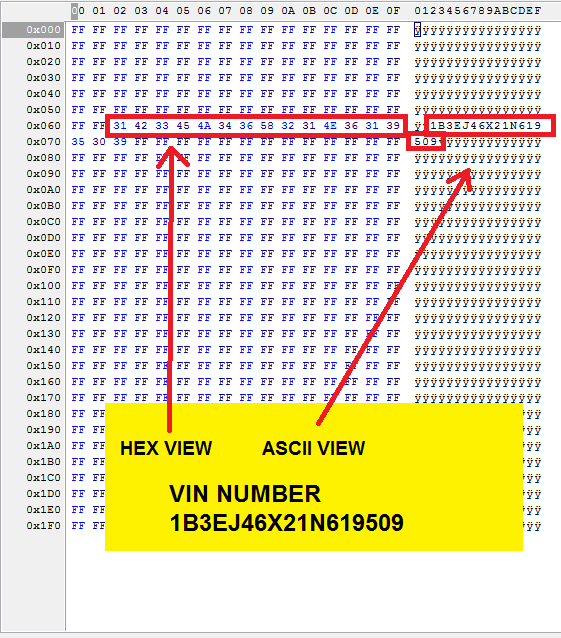
I recommend using the ASCII area to edit memory because you will see the characters you enter as you type them. If you use the HEX area, you will need to convert each character to HEX first, which is time-consuming and not very helpful in this case. When entering the VIN in the ASCII area, always use ALL CAPITALS!
After writing the VIN to the chip and reading it back to confirm everything is correct, you are ready to solder the chip back into the circuit. Make sure you align it in the same orientation as it was (where pin #1 is facing).
Finally, there’s one more step for this to work. You will need to disconnect the immobilizer circuit (transponder ECU or “Immobox”), which is under the steering wheel. Disconnect it so it cannot send signals to the ECM, which could cause the engine to fail to start. Just pull the immobox connector plug and leave the wire hanging next to it in case you wish to re-enable it.