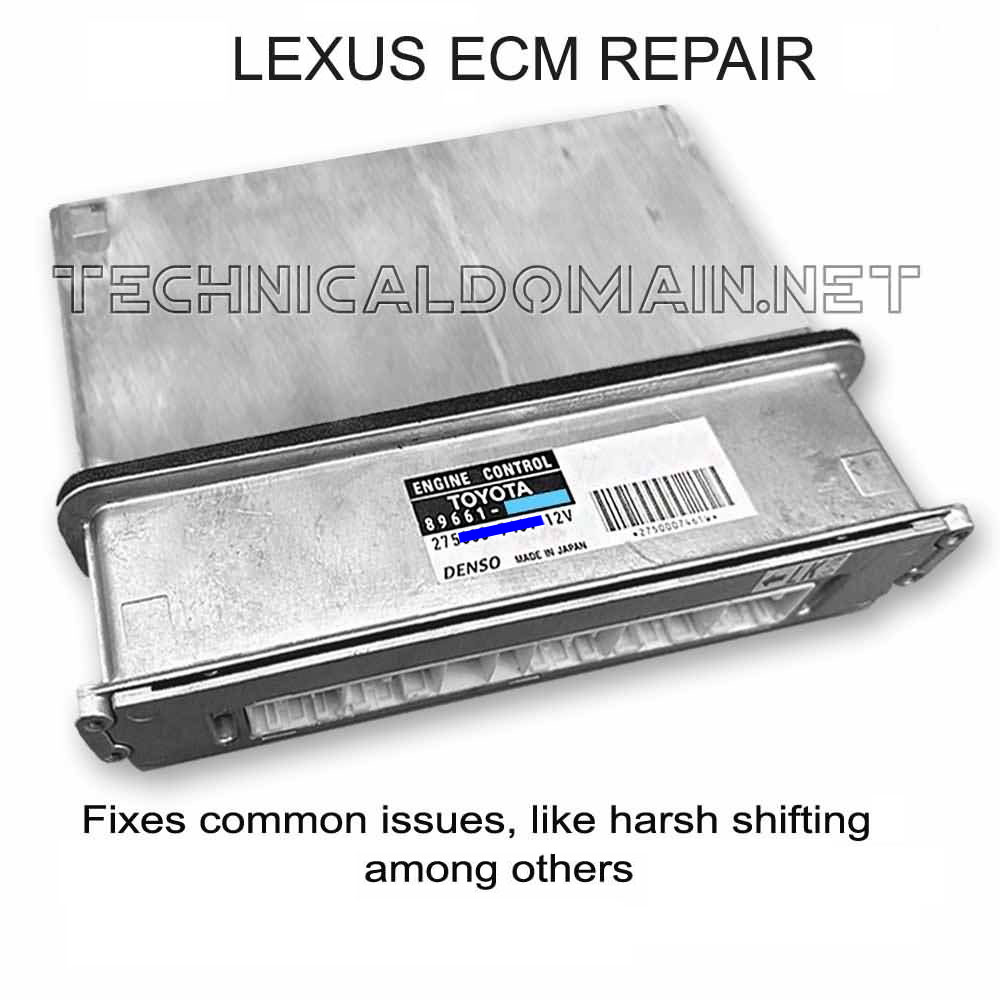
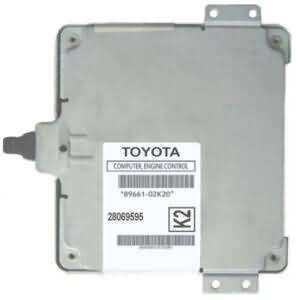
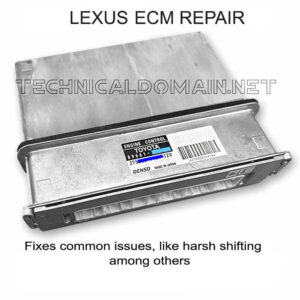
This is a repair and return service for the engine computer (ECM) of the 2007, 2008, 2009, 2010, and 2011 Lexus GS350 models. This service covers all the 2007-2011 Lexus GS350 All-Wheel-Drive (AWD) models and all the Rear-Wheel-Drive (RWD) models as well.
Complete service: The whole unit is checked, NOT only the issue causing the symptoms. NO programming needed – Plug-and-Play.
—PLEASE NOTE THAT THIS IS A REPAIR AND RETURN SERVICE. THIS IS NOT A REPLACEMENT PART. YOU SEND US YOUR DEFECTIVE PART, WE REPAIR IT, AND IT IS SENT BACK TO YOU WORKING LIKE NEW—
This repair service covers the following ECM part numbers: This is a partial list. If your ECM part number is not shown in the table below, as long as it is from a 2007-20011 Lexus GS350 then this service is for you
| 89661-30D90 | 89661-30D91 | 89661-30E00 | 89661-30E01 | 89661-30J20 |
| 89661-30J21 | 89661-30J22 | 89661-30J30 | 89661-30J31 | 89661-30J32 |
| 89661-30M40 | 89661-30M41 | 89661-30M50 | 89661-30M51 | 89661-30Q90 |
| 89661-30R00 | 89661-30T20 | 590-51102 | 590-51103 | 590-51617 |
| 590-51618 | 590-52033 | 590-52034 | 590-52036 | 590-52037 |
| 590-52888 | 590-52889 | 590-52890 | 590-52891 |
REASONS TO SEND YOUR ECM TO US FOR SERVICE:
-The job is done by a highly trained and experienced technician.
-The whole unit is checked, NOT only the actual problem, to prevent future issues, either related or not to the actual issue.
–FREE 1 to 2 years warranty (depends on product).
–(NEW) One free extra year of warranty if an honest review is left after receiving back and testing your ECM.
–FREE USA, and USA Territories shipping with USPS Priority Mail.
-Quick turnaround time (1 business day).
-The latest firmware of the ECM update included (if ECM firmware is outdated).
–NO Programming Required.
-The immobilizer (if enabled) and VIN are verified and corrected if any problems are found.
ECM LOCATION
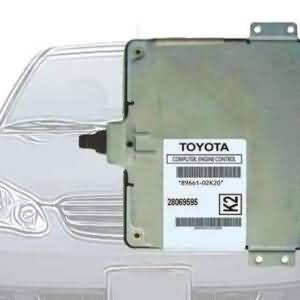
In these models, the ECM is located near the left-hand (driver’s side) headlamp
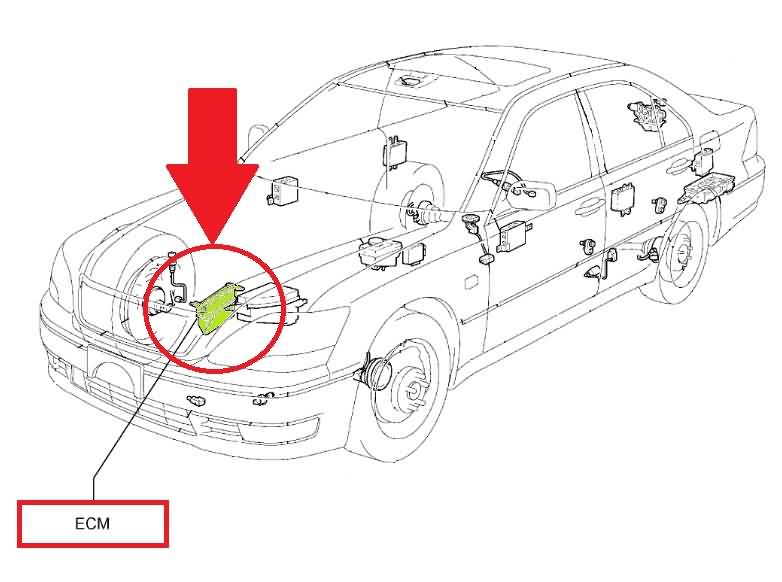 .
.
NOTES FOR REMOVING THE ECM:
– Remove any water from the ECM cover and edges before removing the ECM.
– No water should come into contact with the inside of the ECM.
ECM REMOVAL PROCESS:
1. Disconnect the negative terminal of the battery.
2. Remove the engine room side cover by removing the 3 clips and then the cover.
3. Remove the ECM cover by removing the 3 bolts attaching it.
4. Remove the ECM by removing the 2 nuts and disconnecting the terminals.
5. Remove the gasket of the ECM by peeling off the sponge part of the gasket
6. Cover the ECM connector with a shop rag or similar and then spray gasket remover or equivalent on the remaining tape of the gasket.
7. Send us your ECM for repairs.
WARRANTY
The included warranty is shown at the top of this page, near the picture and title.




Reviews
There are no reviews yet.